
Book Club - Alice's Adventures in Wonderland

We had book club while Melina was in town, so no video chat needed.  It was so great to all be together.  For this book club, we read the classic 
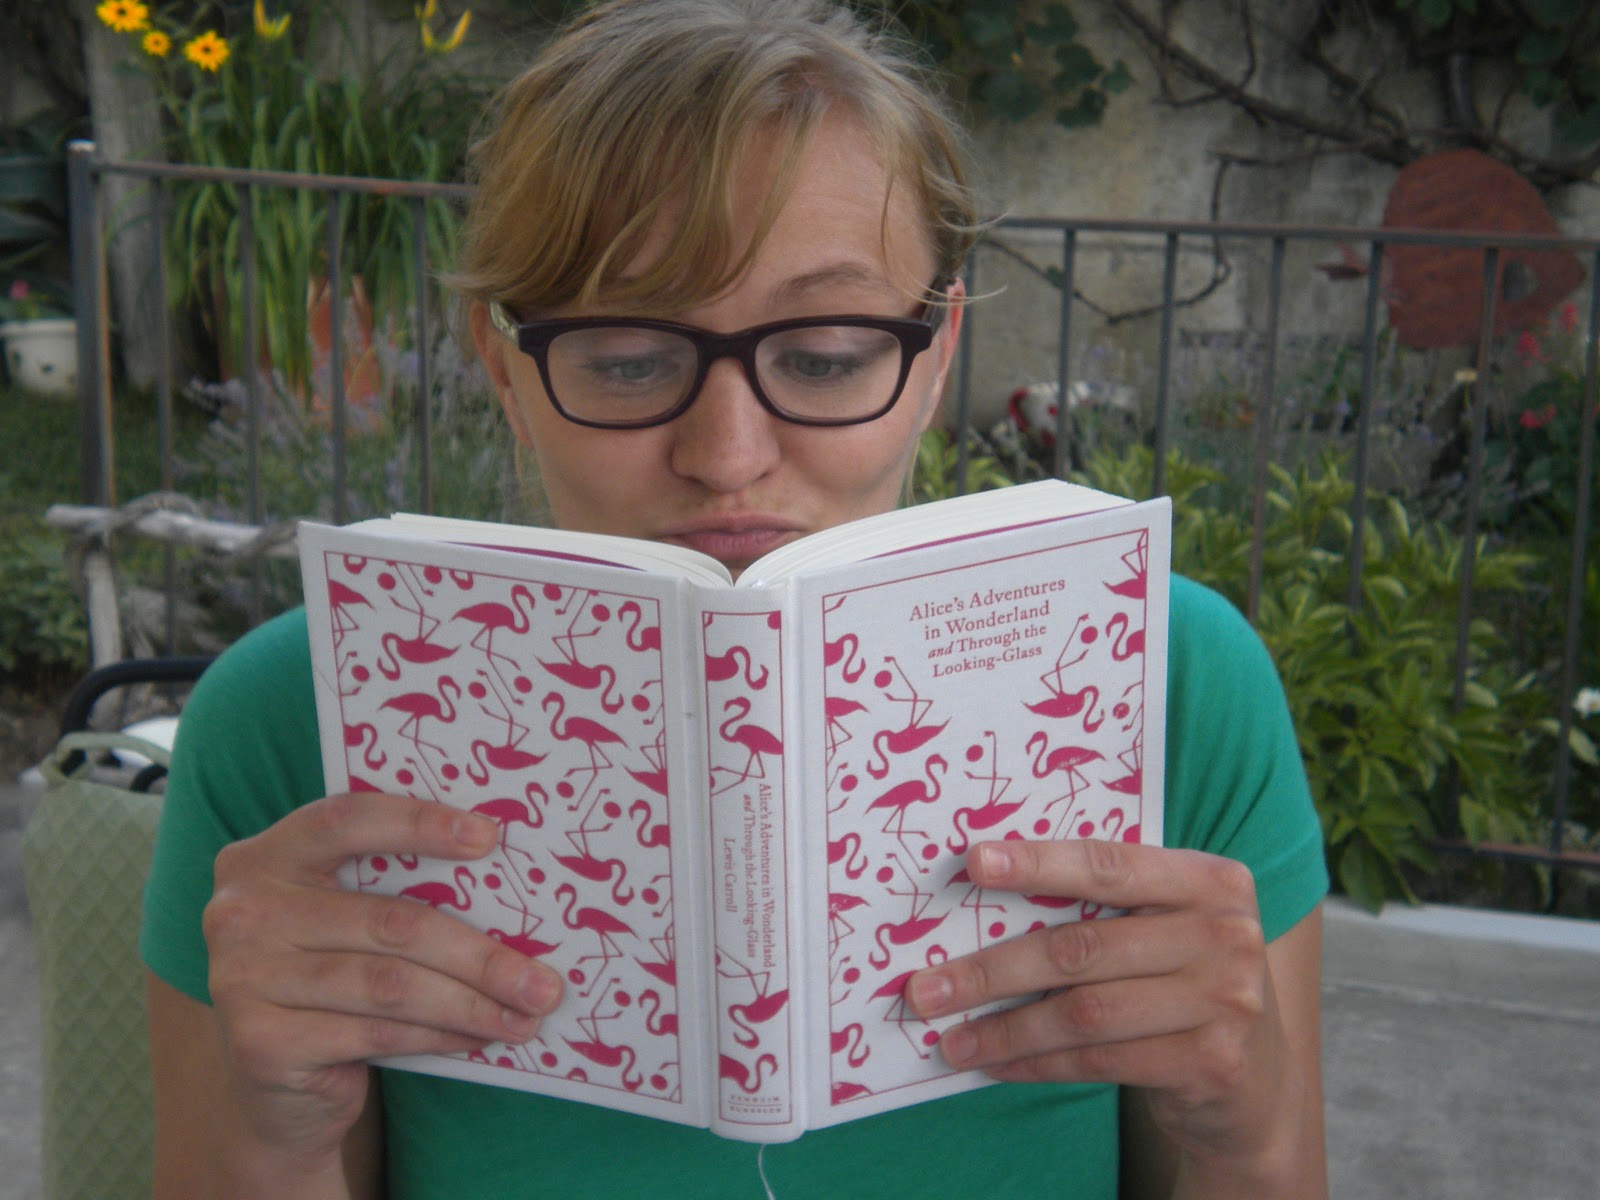
Alice's Adventures in Wonderland and Through the Looking Glass.  Melina and Talena put together such a cute book club.  We had a tea party in honor of the book.  The delectables were delicious and adorable.  I have such creative friends.  We discussed the book for a bit and then dove into world problems or at least our problems.  It always feels so validating and enlightening to discuss life with my amazing friends who know me so well.  I always feel uplifted after spending time with them, no matter what we do.

Our Alice in Wonderland tea party.
The smoking caterpillar from the book made with grapes.
Chess sugar cookies.
This picture of Talena makes me so happy.
Our cheerful book club, Me, Melina and Talena.  We all put ribbons in our
hair in honor of Alice.
A spot of tea,,,errr apple juice.  Don't mind if I do.
This is how our book club conversing goes.
I always feel a little weird about giving reviews of classics, because it is a classic for a reason.  Alice's Adventures in Wonderland is fun and whimsical.  I had a bit of a hard time getting in this book, but I think that was partially because I kept reading all the footnotes throughout the book, which definitely broke up the story too much.  It was interesting to gain some insight of the book, but I wish I had read the footnotes another time and just enjoyed the story.  Alice's Adventures in Wonderland isn't a children's book to share any deep morals or lessons.  Lewis Carroll seemed to write it for children so they could have a laugh.  He pokes fun at many of the school lessons and memorized poems the children of his time would recognize from primary school.

Jan's Rating:


Comments

  1. I'm so in love with the fact that you had a tea party!!

    ReplyDelete
  2. It looks like you had a fabulous time with your friends through the looking glass.

    ReplyDelete

Post a Comment

Popular posts from this blog

Oh Crafty Trees, Oh Crafty Trees...

I've become a finals widow, if you will, meaning Danny is crazy busy trying to finish up the semester.  This has given me extra time to use my crafty skills to get our place Christmas ready.  My first creations were these little paper/foam trees.  I've seen a few variations online of this craft. I put my own little twist on it.  They are really easy to make, just takes some time. Here is what you need: Scrap paper Hot glue gun 1" Circle punch Foam cone (at most craft stores) Toothpicks Note:  You are going to go to the craft store to buy the little foam cone and you will see styrofoam glue and you will think to yourself that would be a good thing to buy for this project.  Don't!  I got the styrofoam glue and it didn't work at all.  Just go with your trusty glue gun, it won't let you down. I think it's pretty self-explanatory by looking at the picture.  You just punch circles out from the scrap paper.  Then hot glue th...

The End of the Road

There is a time when things fulfill their purpose and that is how I've been feeling with this blog of mine. When I started it, I needed my own little spot to share my thoughts and random stuff I found online. However, having two blogs has become excessive. It has been a good run (me and this little blog) and thanks for joining me. For now on, I will just be posting on my family blog . It's a private blog, but send me a message or a request if you would like to view it. Thanks to those who have taken the time to read my silly thoughts or look at pictures of my cute kiddo or some craft I made. It means a lot to me. Signing off, Jannifer

The Christmas Box

Remember how forever ago I said I would post a tutorial on how to fold these cute boxes.  Sigh, life is busy.  But I am here to fulfill my promise, even if it is a bit belated.  We had a Super Saturday at church with classes we could take.  My awesome friend, Becky, taught us how to create these, so I give her all the credit. What you need, paper, scissors, ruler pencil and some type of adhesive. 1.On the blank side of your paper draw an X from each corner, using a ruler. 2. Fold the bottom corner to the  center. 3. Fold the bottom corner one more  time up to the center. 4. Now you are  going to do the exact  two folds from steps 2 and 3 to the  opposing top corner, so your  paper will look like this. 5.  Unfold your paper and make the same folds to left and right corners that haven't been folded yet.  So once again, fold the point to the middle. 6.  Do a second fold to th...