
1 Year

I don't believe I mentioned that Danny and I hit our 1 year anniversary this past weekend, yay us!  In true Jannifer style we celebrated for multiple days, (two weekends to be exact) because that's what I like to do.  I'm grateful Danny supports me in my desire to celebrate all things.

Then...


Now...


Weekend #1 of celebration we went to the Homestead.

And took a drive in the mountaintops so we could take pictures among the leaves.

We enjoyed vistas like this!

And went swimming in a crater!

Weekend #2 of celebration we partied in our home town,
which started with a Mexican feast (my fav food).

We painted ceramics.

I heart Color Me Mine.

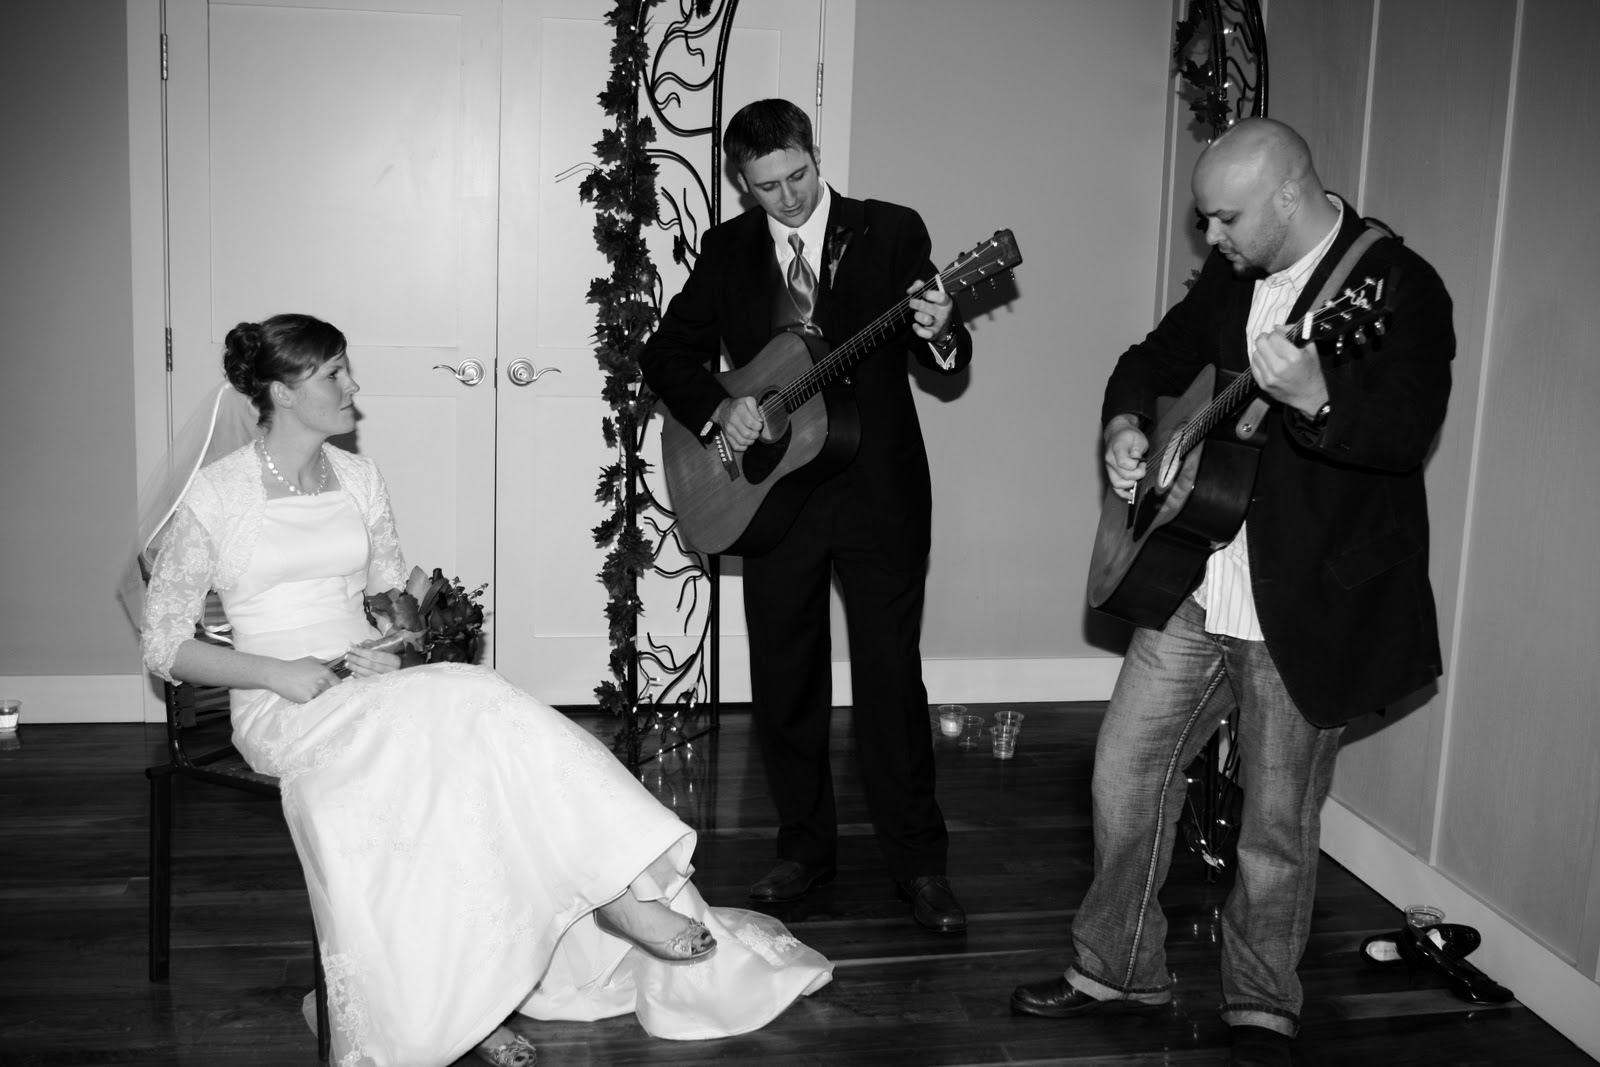
We went to the temple where we were married.

I wore my wedding shoes.

We love the temple.

We tried to find the trail where we took our wedding pictures.
Danny found a clue!

We enjoyed nature.

And more beautiful vistas!

It took us a few tries, but we finally found the right trail.  Look familiar?

Then we ended our weekend o'celebration with sushi,
(Danny's fav food).
Until Next Year...

Comments

  1. YOU SWAM IN A CRATER?!! Now I HAVE to get married so I can do that! CONGRATS!!!!!!!!!

    ReplyDelete
  2. You are so cute, how you love to celebrate!!! I think finding the bridge where you took wedding photos was totally worth it! I would print the picture of your wedding day/1 year anniversary day and frame them together. AWESOME! And then, go back to the Draper Temple and take your special nature hike each year and take a picture... ~Becky Shuler

    ReplyDelete
  3. p.s. Danny, you look very handsome with your facial hair. And I can't believe I'm saying that. But it is nice and trimmed and not all scruffy. - Becky

    ReplyDelete
  4. Jannifer, I love how your hair is the same color as the leaves; no wonder you got married in the fall.

    ReplyDelete

Post a Comment

Popular posts from this blog

Oh Crafty Trees, Oh Crafty Trees...

I've become a finals widow, if you will, meaning Danny is crazy busy trying to finish up the semester.  This has given me extra time to use my crafty skills to get our place Christmas ready.  My first creations were these little paper/foam trees.  I've seen a few variations online of this craft. I put my own little twist on it.  They are really easy to make, just takes some time. Here is what you need: Scrap paper Hot glue gun 1" Circle punch Foam cone (at most craft stores) Toothpicks Note:  You are going to go to the craft store to buy the little foam cone and you will see styrofoam glue and you will think to yourself that would be a good thing to buy for this project.  Don't!  I got the styrofoam glue and it didn't work at all.  Just go with your trusty glue gun, it won't let you down. I think it's pretty self-explanatory by looking at the picture.  You just punch circles out from the scrap paper.  Then hot glue th...

The End of the Road

There is a time when things fulfill their purpose and that is how I've been feeling with this blog of mine. When I started it, I needed my own little spot to share my thoughts and random stuff I found online. However, having two blogs has become excessive. It has been a good run (me and this little blog) and thanks for joining me. For now on, I will just be posting on my family blog . It's a private blog, but send me a message or a request if you would like to view it. Thanks to those who have taken the time to read my silly thoughts or look at pictures of my cute kiddo or some craft I made. It means a lot to me. Signing off, Jannifer

The Christmas Box

Remember how forever ago I said I would post a tutorial on how to fold these cute boxes.  Sigh, life is busy.  But I am here to fulfill my promise, even if it is a bit belated.  We had a Super Saturday at church with classes we could take.  My awesome friend, Becky, taught us how to create these, so I give her all the credit. What you need, paper, scissors, ruler pencil and some type of adhesive. 1.On the blank side of your paper draw an X from each corner, using a ruler. 2. Fold the bottom corner to the  center. 3. Fold the bottom corner one more  time up to the center. 4. Now you are  going to do the exact  two folds from steps 2 and 3 to the  opposing top corner, so your  paper will look like this. 5.  Unfold your paper and make the same folds to left and right corners that haven't been folded yet.  So once again, fold the point to the middle. 6.  Do a second fold to th...