
August on Instagram


Aug. 3rd - Me and Danny at Donut Falls.
Aug. 4th - Foot shot by the stream by Danny's family cabin.
Aug. 4th - Pine trees up at Mount Aire.
Aug. 4th - Danny and his Dad.
Aug. 6th - Danny got me yellow roses, my favorite, for our engagement
anniversary.
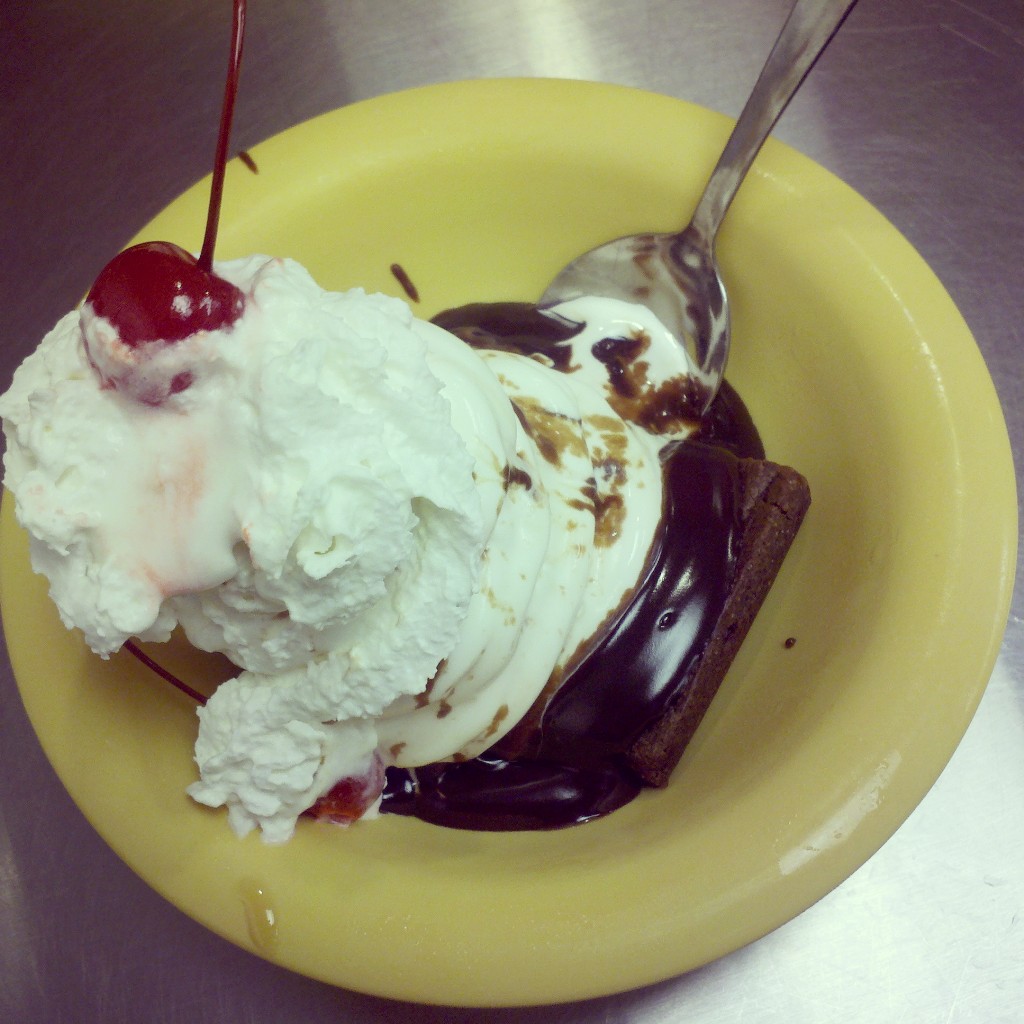
Aug. 6th - Our engagement anniversary tradition, getting ice cream sundaes
at Hires like we did the night we got engaged.
Aug. 14th - Talena was kind enough to pose for a photo shoot I was
helping with for work.  
Aug. 14th - Sunset at Antelope Island during the photo shoot.
Aug. 30th - Photo shoot at BYU Museum of Art.  I had to get up
at 4:30am for this photo shoot.  At least the photo shoot was at a
culturally enriching place.
Aug. 30th - A bubble wrap wedding dress at the BYU museum (but it is not
of BYU approved standards.)
Aug. 31st - My little niece, Lady Lu, had a lemonade stand including
face painting.  We were happy to attend.
Aug. 31st - My nephew JM was happy to show off his very cool
rocket ship face, err, arm paint.

Comments

  1. Nice photo shoot of Talena. I hope we'll see that in the Ensign. Wish we could've come to the lemonade stand. Did Danny tell you about the time he and Ben had a stand and got their picture in the paper?
    So what's the story of that bubble wrap wedding dress?

    ReplyDelete

Post a Comment

Popular posts from this blog

Oh Crafty Trees, Oh Crafty Trees...

I've become a finals widow, if you will, meaning Danny is crazy busy trying to finish up the semester.  This has given me extra time to use my crafty skills to get our place Christmas ready.  My first creations were these little paper/foam trees.  I've seen a few variations online of this craft. I put my own little twist on it.  They are really easy to make, just takes some time. Here is what you need: Scrap paper Hot glue gun 1" Circle punch Foam cone (at most craft stores) Toothpicks Note:  You are going to go to the craft store to buy the little foam cone and you will see styrofoam glue and you will think to yourself that would be a good thing to buy for this project.  Don't!  I got the styrofoam glue and it didn't work at all.  Just go with your trusty glue gun, it won't let you down. I think it's pretty self-explanatory by looking at the picture.  You just punch circles out from the scrap paper.  Then hot glue th...

The End of the Road

There is a time when things fulfill their purpose and that is how I've been feeling with this blog of mine. When I started it, I needed my own little spot to share my thoughts and random stuff I found online. However, having two blogs has become excessive. It has been a good run (me and this little blog) and thanks for joining me. For now on, I will just be posting on my family blog . It's a private blog, but send me a message or a request if you would like to view it. Thanks to those who have taken the time to read my silly thoughts or look at pictures of my cute kiddo or some craft I made. It means a lot to me. Signing off, Jannifer

The Christmas Box

Remember how forever ago I said I would post a tutorial on how to fold these cute boxes.  Sigh, life is busy.  But I am here to fulfill my promise, even if it is a bit belated.  We had a Super Saturday at church with classes we could take.  My awesome friend, Becky, taught us how to create these, so I give her all the credit. What you need, paper, scissors, ruler pencil and some type of adhesive. 1.On the blank side of your paper draw an X from each corner, using a ruler. 2. Fold the bottom corner to the  center. 3. Fold the bottom corner one more  time up to the center. 4. Now you are  going to do the exact  two folds from steps 2 and 3 to the  opposing top corner, so your  paper will look like this. 5.  Unfold your paper and make the same folds to left and right corners that haven't been folded yet.  So once again, fold the point to the middle. 6.  Do a second fold to th...